NB: If you haven’t already done so - turn on the Zapier integration in Senta. See the Connecting Senta to Zapier guide.
It's possible to create a Client in Senta as a Zapier action. For the purposes of this example, we will create a client from a Google Sheet, but any of the 2000+ apps in Zapier can in theory be used as a data source.

1. In Zapier, click Make a Zap:

2. Name your Zap in the top left. In our case, we'll name it When a Google form is filled in, create a prospect in Senta.
3. Next, choose an App & Event to be the source of the data. In this case, we’ll choose Google Sheets and New Spreadsheet Row:
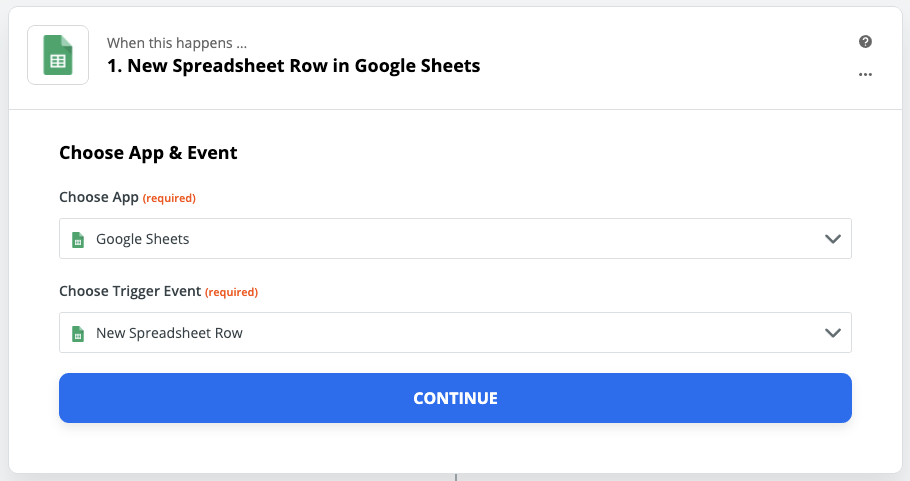
Click Continue.
4. Now we choose the Google Account, the Spreadsheet, and the Worksheet, and click Continue:

5. Click Test & Review. Zapier will connect to your Google Sheets account, and pull some example data from the spreadsheet, for example:

6. Click Done editing to move to the next step:

7. Click the + icon or Do this…, then search for an App to connect to - Senta may appear in your recently-used apps, or you may need to search for “Senta”:

(Note that if you are part of our beta programme, it may show as “Senta 2.0.0 - Invite only” - this is normal)
8. Choose Senta, then choose Action Event Create a New Client:

Click Continue.
9. When asked to Choose Account:
If you have previously set up Zapier with Senta, choose that account
If not, choose Add account, then follow the instructions in the Connecting Senta to Zapier guide
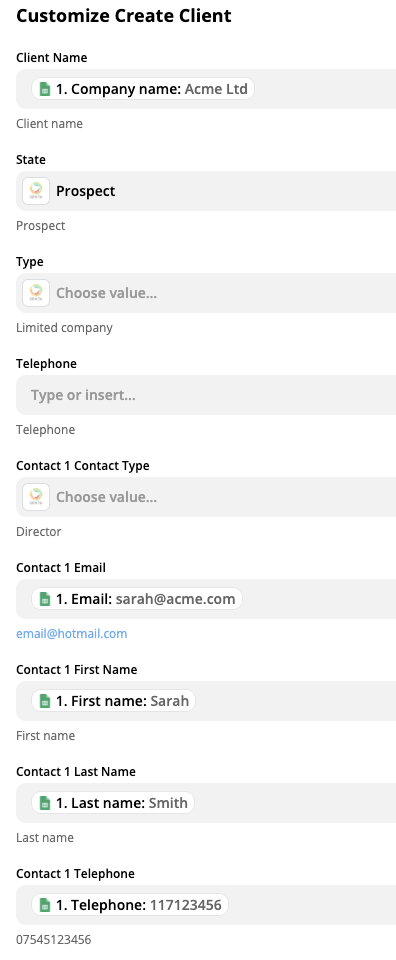
10. You are now at Customize Create Client, where you can customise which fields from the source data (in our case the Google Sheet) should be stored in which fields on Senta:

(Note that the particular set of fields will depend on the fields in Senta that you have chosen to enable with Zapier - see Connecting Senta to Zapier.)
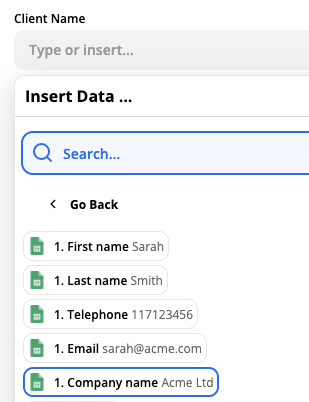
11. For each field, choose which value you would like to use - this can either be a “dynamic” field from the source data, or a fixed value that you choose when setting up the Zap:
In the case of the Client name field, we would like this to be dynamic based on the incoming data, so we will choose the Company name field from the spreadsheet:
In the case of the State field, we would like this to always be set to Prospect, so we will choose that based on the options provided (note that the specific set of options will depend on the Lookups you have configured for that field in Senta)

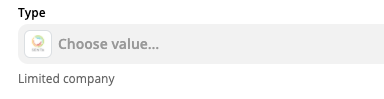
In the case of the Type field, this is an example of information that we do not have available from this particular data source (the Google Sheet), and cannot predetermine a value for - so will leave it blank (to be filled in later in Senta):
12. We repeat this process for all fields, either choosing a value from the source data, or choosing a fixed value, or skipping them, until we have something like the following:
13. Click Continue, and we are now ready to test our Zap:

(Again, the fields will depend on your Senta workspace configuration)
14. Click Test & Review- after a few moments of chugging, you should see something similar to the following:
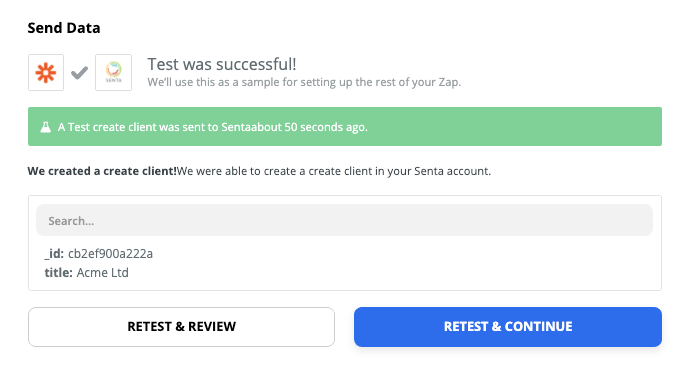
Success!
If we briefly jump over to our Senta workspace, we should see a new prospect has appeared :

15. At this point, you’re good to go - click Done editing, and don’t forget to Turn your Zap on:

16. You'll see "Your Zap will run instantly each time a new spreadsheet row is created."
